Blockchains have diverse architectures, leading to interoperability challenges. Fortunately, various third-party solutions like bridges, extensions, wrapped assets, and cross-chain protocols enable asset utilization across different ecosystems and wallets. While it’s not possible to manage SOL and SLP tokens directly on MetaMask, we can still use a third-party to manage our Solana-based funds, all while remaining connected to MetaMask.
MetaMask Snaps, developed by Consensys engineers, allows users to manage their funds on various networks, such as Solana, within MetaMask via an extension.
Solflare, the protocol behind the popular wallet of the same name, developed the Solana Snap function, allowing users to manage their Metamask wallets through a Solflare interface.
In this article, you’ll learn how to add the Solana Snap to your Metamask wallet. Just follow these steps below.
How to Add Solana Snap to MetaMask
- Go to the MetaMask Snap Directory either from your MetaMask wallet or Solflare MetaMask landing page.
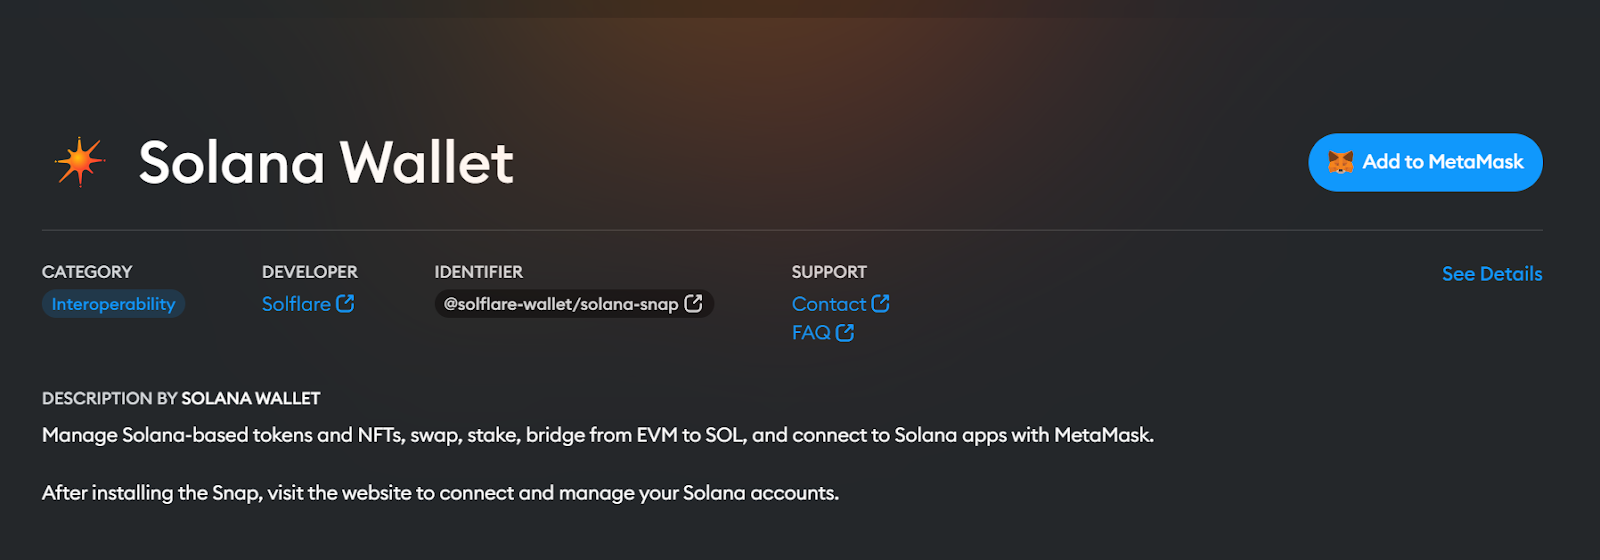
- Search for ‘Solana’ and click on ‘Solana Wallet’ by Solflare.
- Click “Add to MetaMask” and confirm the link request, accepting terms and conditions.
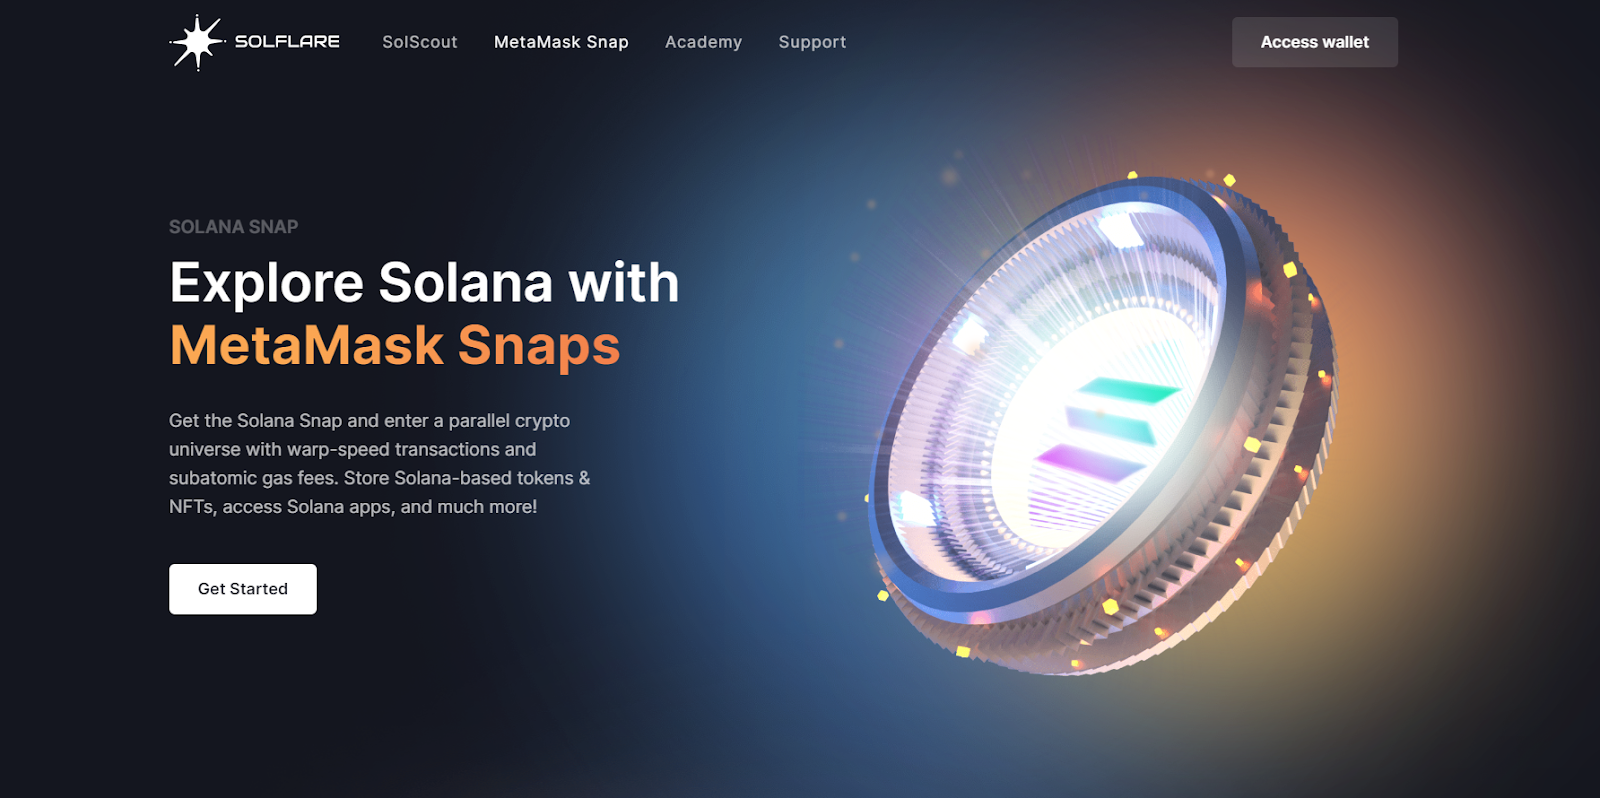
- Continue to Solflare’s website and click “Get Started” to initiate installation.
- Connect to MetaMask when prompted. Wait for the process to finish and confirm the connection request.
- Once completed, your Solflare Solana Wallet is ready for use.
- You can bookmark the dashboard page for easy access, that way you don’t have to insert your password phrase.
Also read: How to Use Uniswap With MetaMask
Bridging SOL to MetaMask
Now that you have successfully installed the Solana Snap extension, you can bridge assets from other networks directly from your Snap wallet.
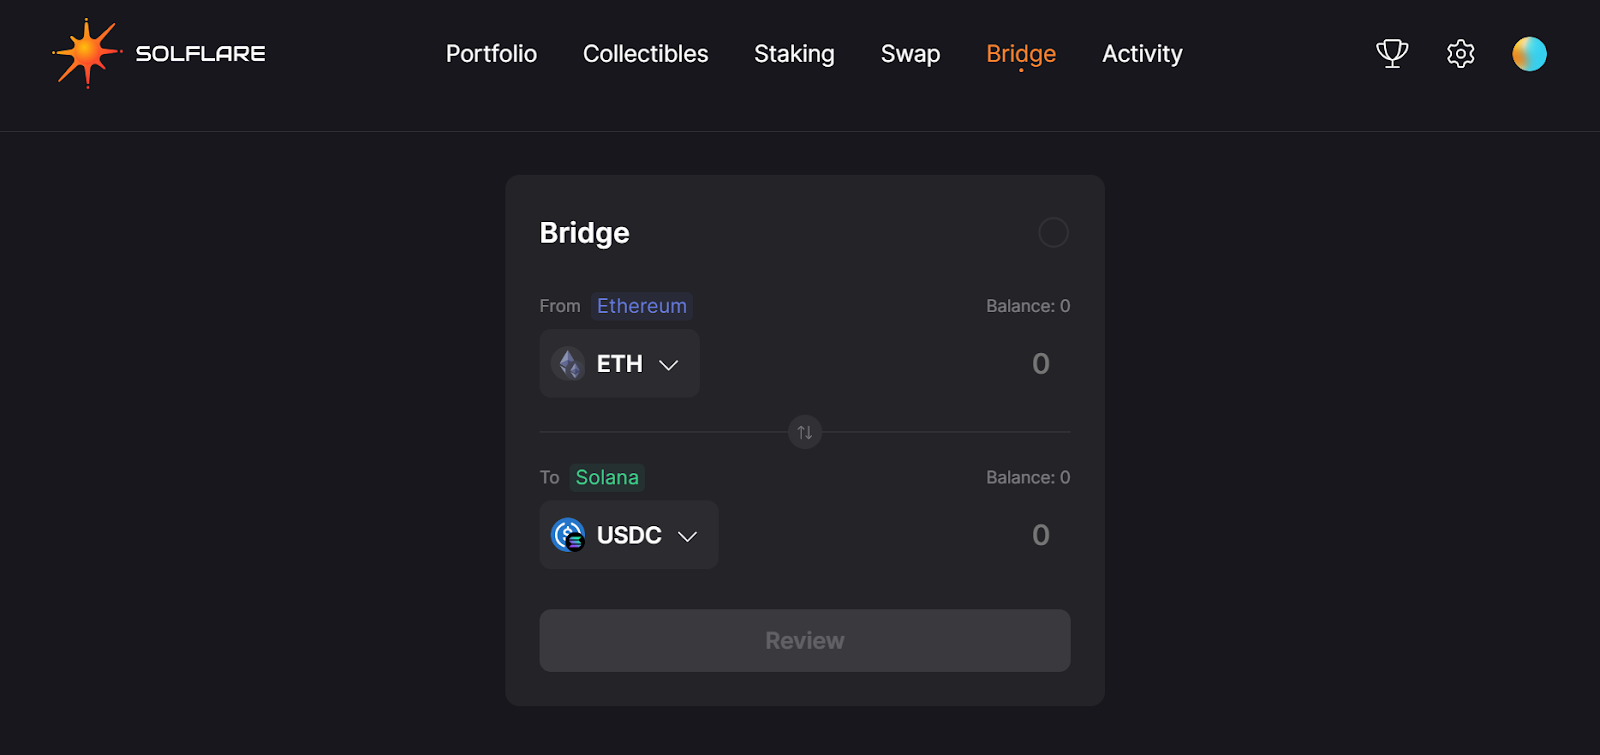
Solflare’s Snap wallet allows users to bridge assets from other networks, including Ethereum, BNB Chain, Arbitrum, Avalanche, and Polygon. Users can bridge stablecoins and reverse the process at any time. To bridge assets:
- Access the Solflare interface and click on the Bridge tab
- Select the relevant chains, enter the desired amount, and click “Review.”
- The MetaMask wallet is automatically chosen as the recipient account.
- Confirm the transaction to complete the bridging process.
Note: Solana assets can’t be managed directly on MetaMask; you’ll need to use the Solflare interface. Disabling or deleting the Solana wallet Snap interrupts its interaction with Metamask but doesn’t delete your portfolio; it’s restored upon reinstallation. And though a new wallet is created, it shares the same private keys as your Metamask wallet.
Benefits Of MetaMask Snaps
The integration of Solana blockchain into MetaMask expands its functionality, enabling users to engage with Solana’s high throughput and low transaction costs alongside their existing EVM-compatible assets.
This integration promotes greater interoperability within the crypto ecosystem, simplifying asset management across different blockchains through a unified wallet interface.
Here’s what you can do with Solana Snap in MetaMask:
- Manage Solana-Based Tokens and NFTs: Hold SOL and manage Solana tokens and NFTs within the MetaMask environment.
- Swap and Stake: Participate in swapping and staking activities directly from your MetaMask wallet.
- Bridge Assets: Seamlessly bridge your assets from EVM to SOL.
- Connect to Solana Apps: Access Solana’s vibrant ecosystem of decentralized applications (dApps) without the need to install a separate Solana wallet.
- View and Manage Assets: Although you can’t directly view and manage your Solana assets stored in MetaMask within the wallet’s interface, you can utilize the Solflare interface or a widget embedded within each Solana app you connect with.
Connecting MetaMask to Solana dApps
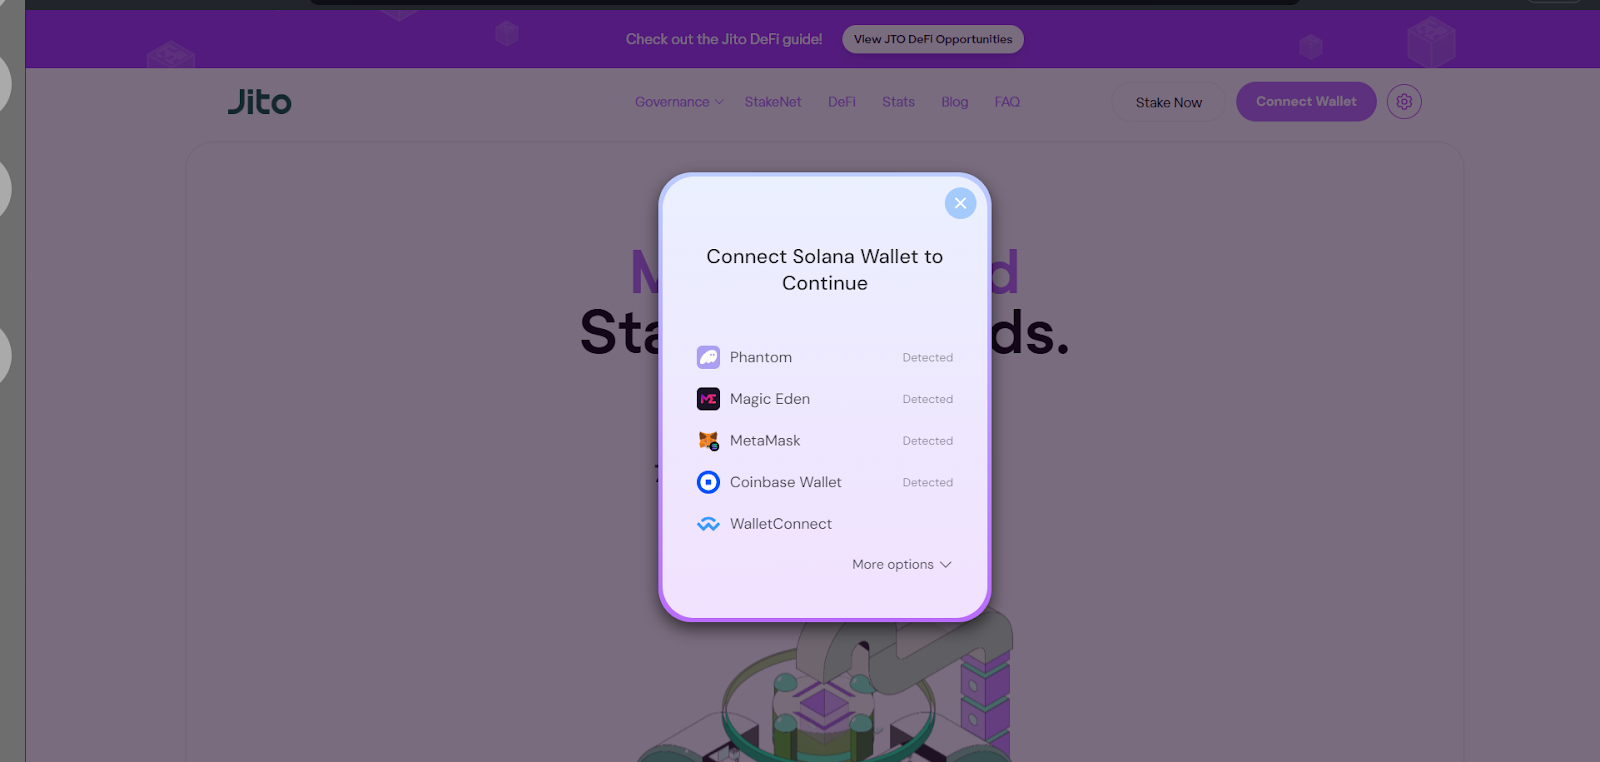
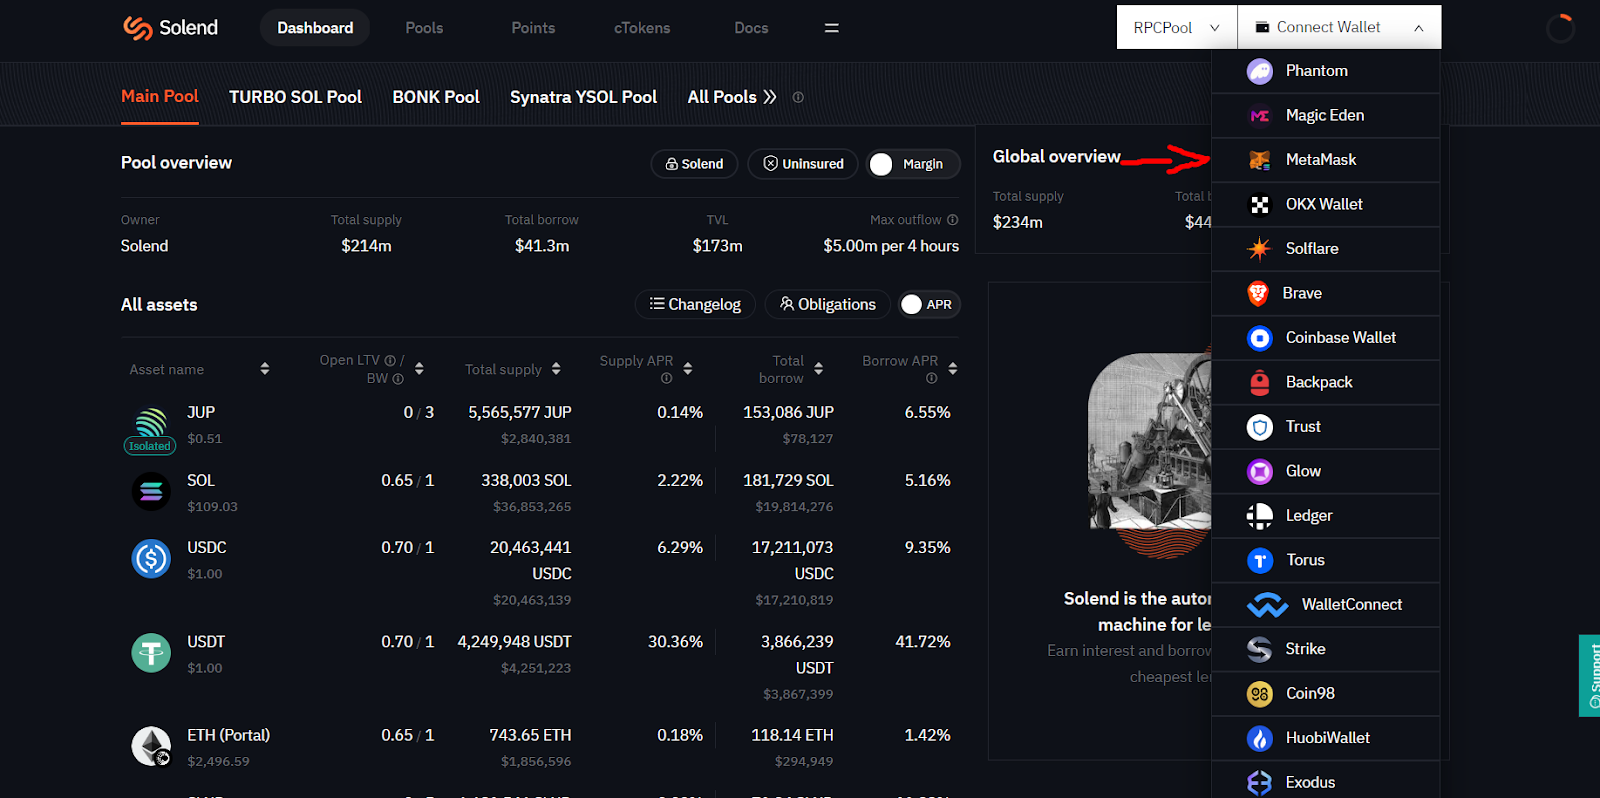
Now that you have your wallet ready to go, you can connect to multiple dApps on the Solana ecosystem, like Jupiter, Jito, or Solend. For this particular example, we’ll use Jito, a MEV staking platform.
Follow the steps below:
- Begin by connecting your Solana Snap wallet. Click on “Connect Wallet” and choose MetaMask. Then, click “Continue.”
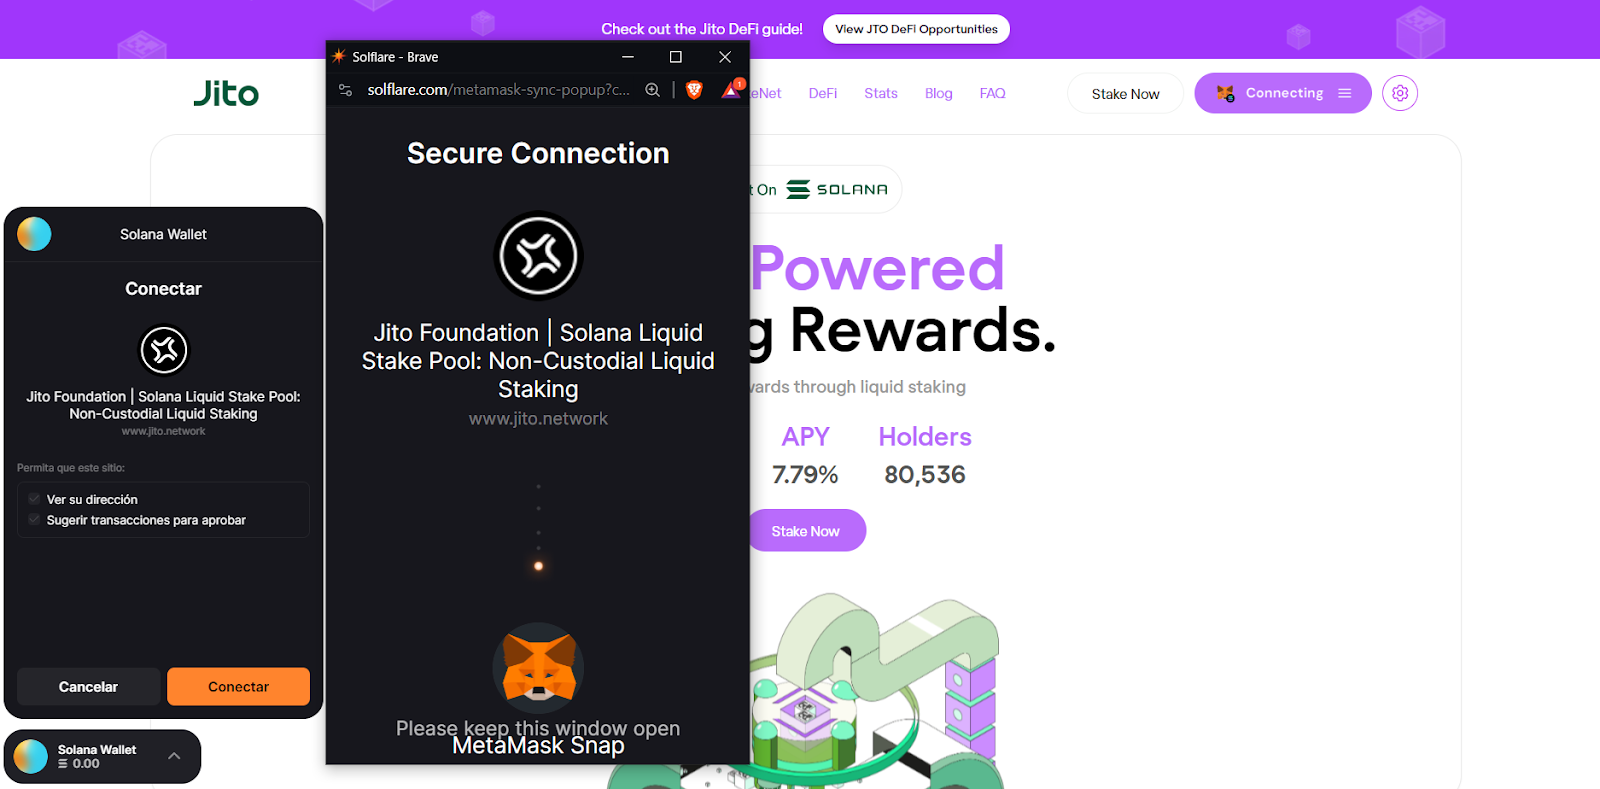
- The app will automatically choose the Snap wallet for you. Make sure you keep the second popup window open, as it is required for every application where you intend to use your Solana Snap wallet.
- Click on Connect.
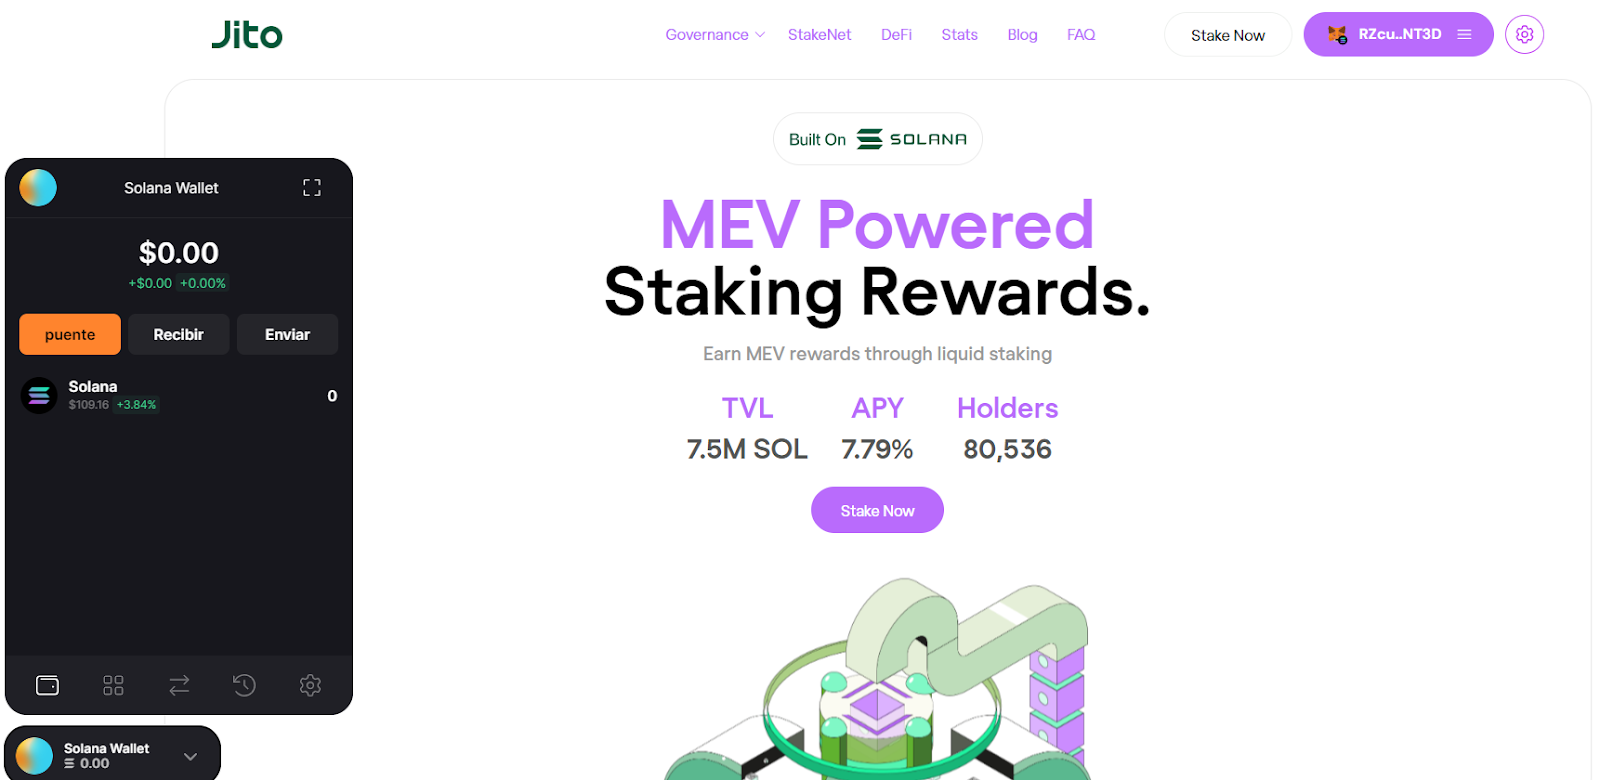
- Done, now you can use Snap wallet on Jito.
The process is quite similar for other dApps on Solana. We just need to make sure we choose Metamask, and follow the previous steps. For example, we can integrate Metamask to Solend by clicking on Connect Wallet and choosing Metamask, and repeat the process.
Frequently Asked Questions
Here is a FAQ about the Solana Wallet Snap:
Is the Snap Wallet Custodial?
No, the Solflare wallet runs with the associated MetaMask wallet, so it does not issue new private keys for the Solana Snap wallet.
What Happens if I Delete/Reinstall My of Solana Snap
Deleting or deactivating your Solana Wallet Snap halts its interaction with your MetaMask wallet. However, upon reinstallation of the Solana Wallet Snap, your previous portfolio remains intact.
Can I Manage Solana Assets Directly On MetaMask
No. You can only do it through the Solflare interface.
What is MetaMask Snaps?
MetaMask Snaps enable developers to create external applications that utilize the MetaMask infrastructure. These include interoperability Snaps like the Solana Wallet Snap and transaction insights Snaps aimed at enhancing security.
Featured image via Unsplash.